To create an M2E Temu Listing, go to Temu > Listings > Items and click Add Listing.

Listing creation takes only two steps.
Step 1. General Settings #
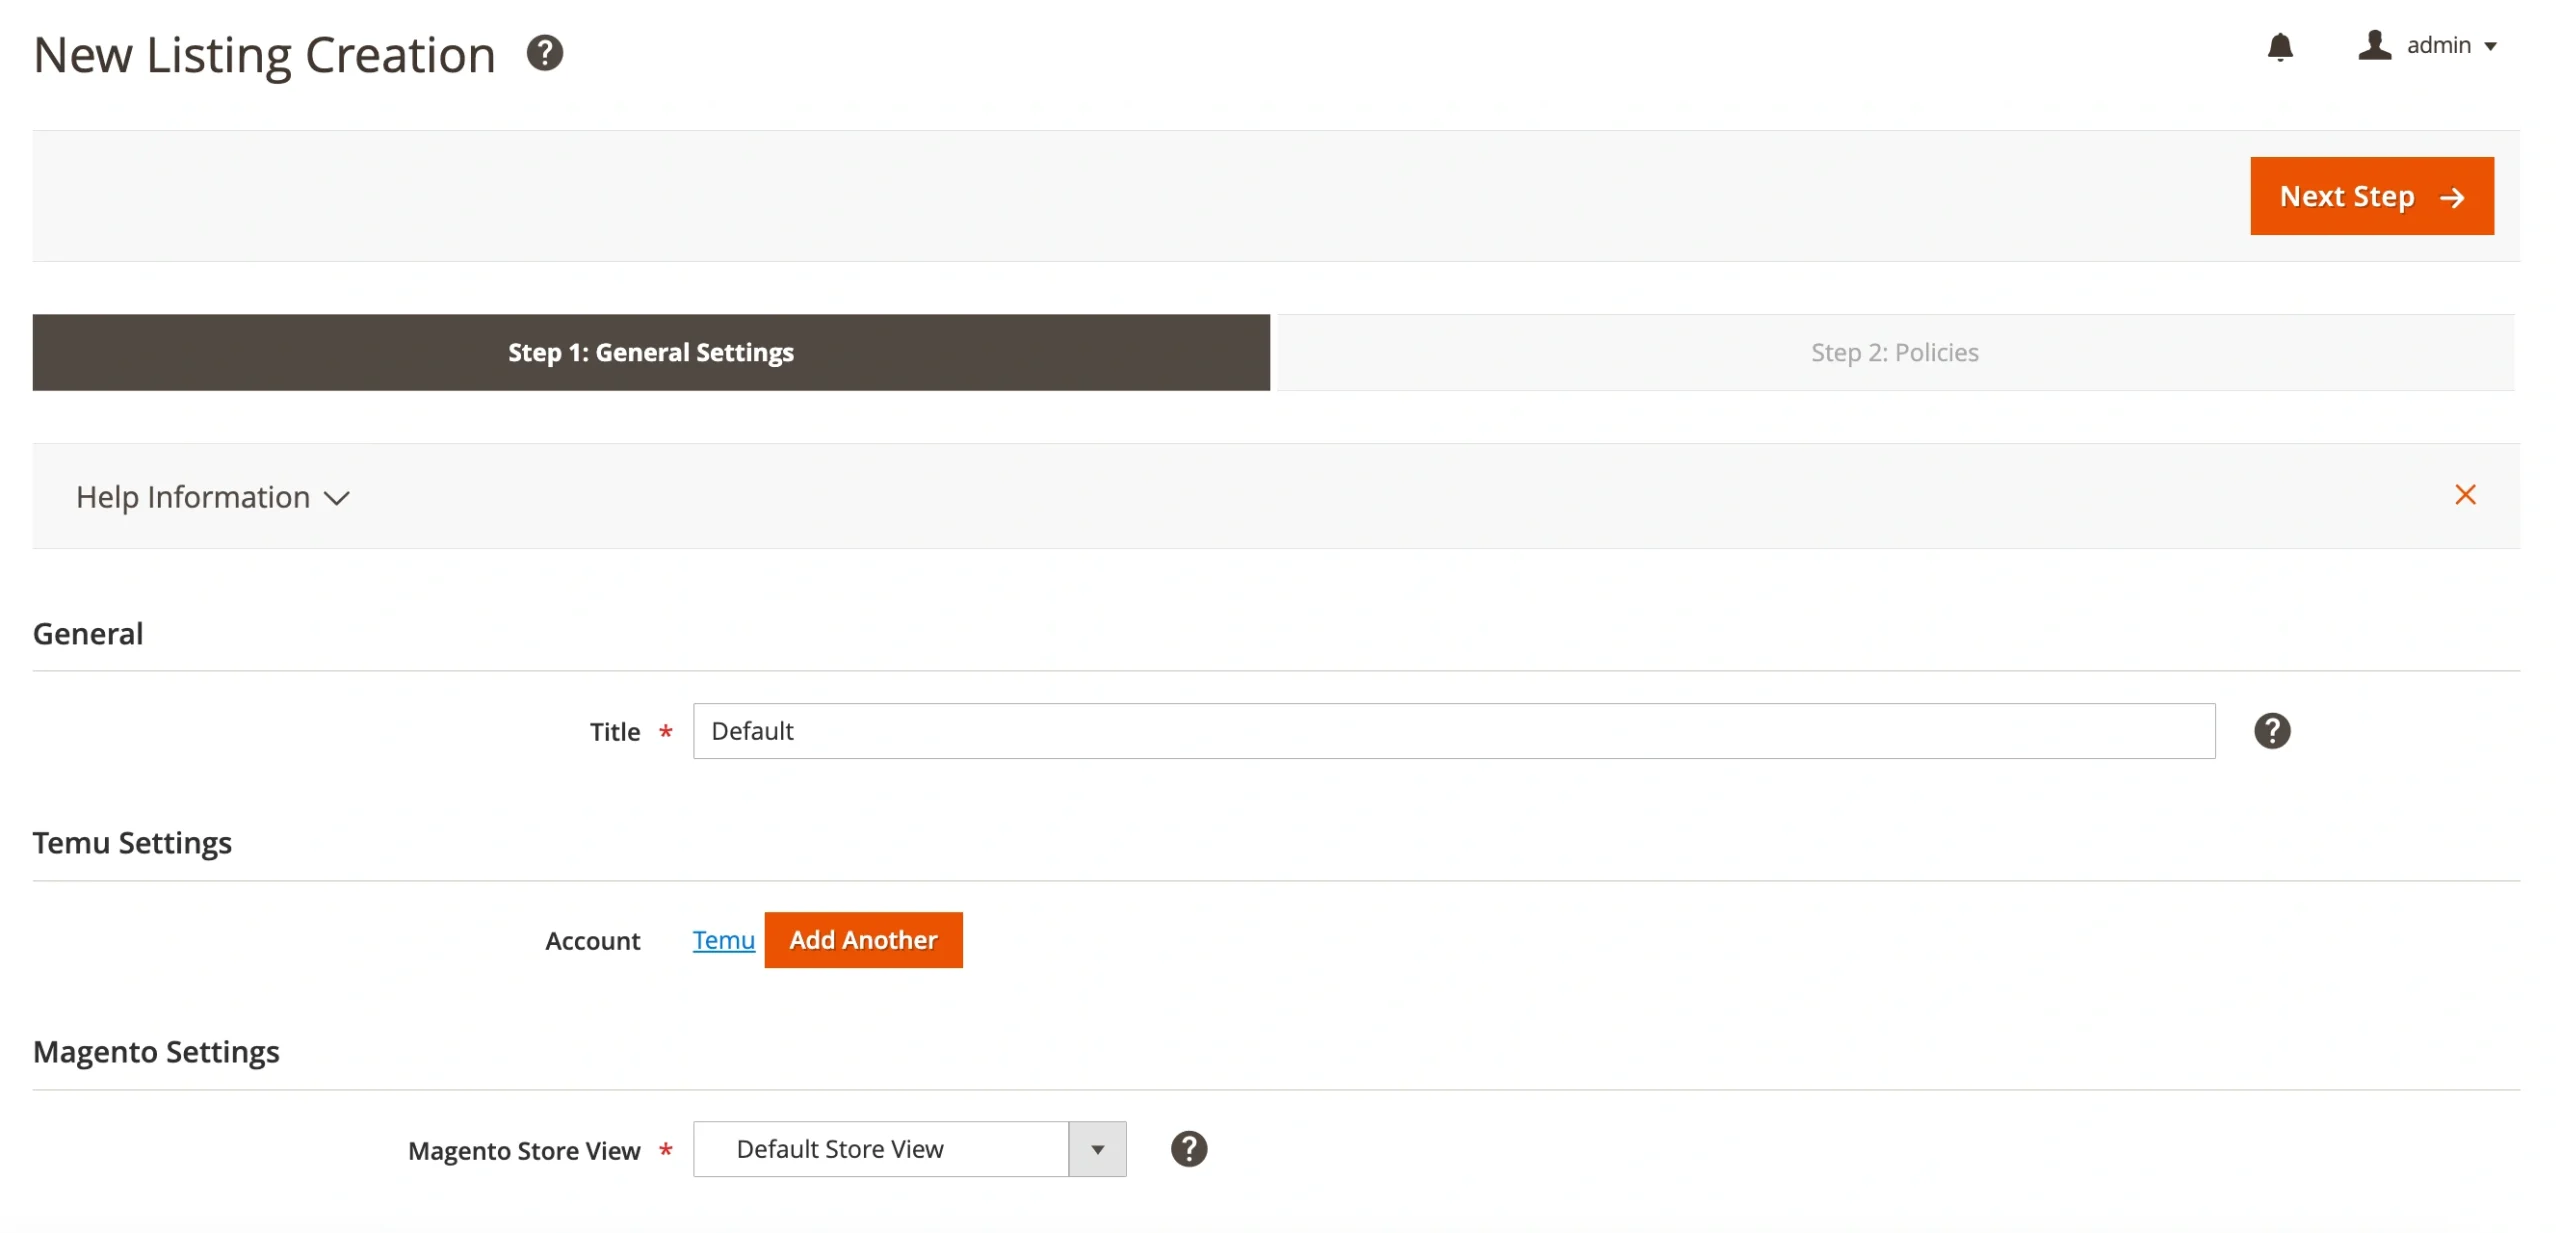
General #
Enter a descriptive and meaningful title for your M2E Temu Listing.
ℹ️ This title is for internal use only and will not appear in your Temu product listings.
Temu Settings #
If you have multiple Temu accounts linked, select the account you want to use for this Listing.
Magento Settings #
Choose a Magento Store View for your M2E Temu Listing.
ℹ️ Attribute values from the selected Store View will be used in the Listing.
Step 2. Policies #
In this step, you need to configure Policies for your M2E Temu Listing.
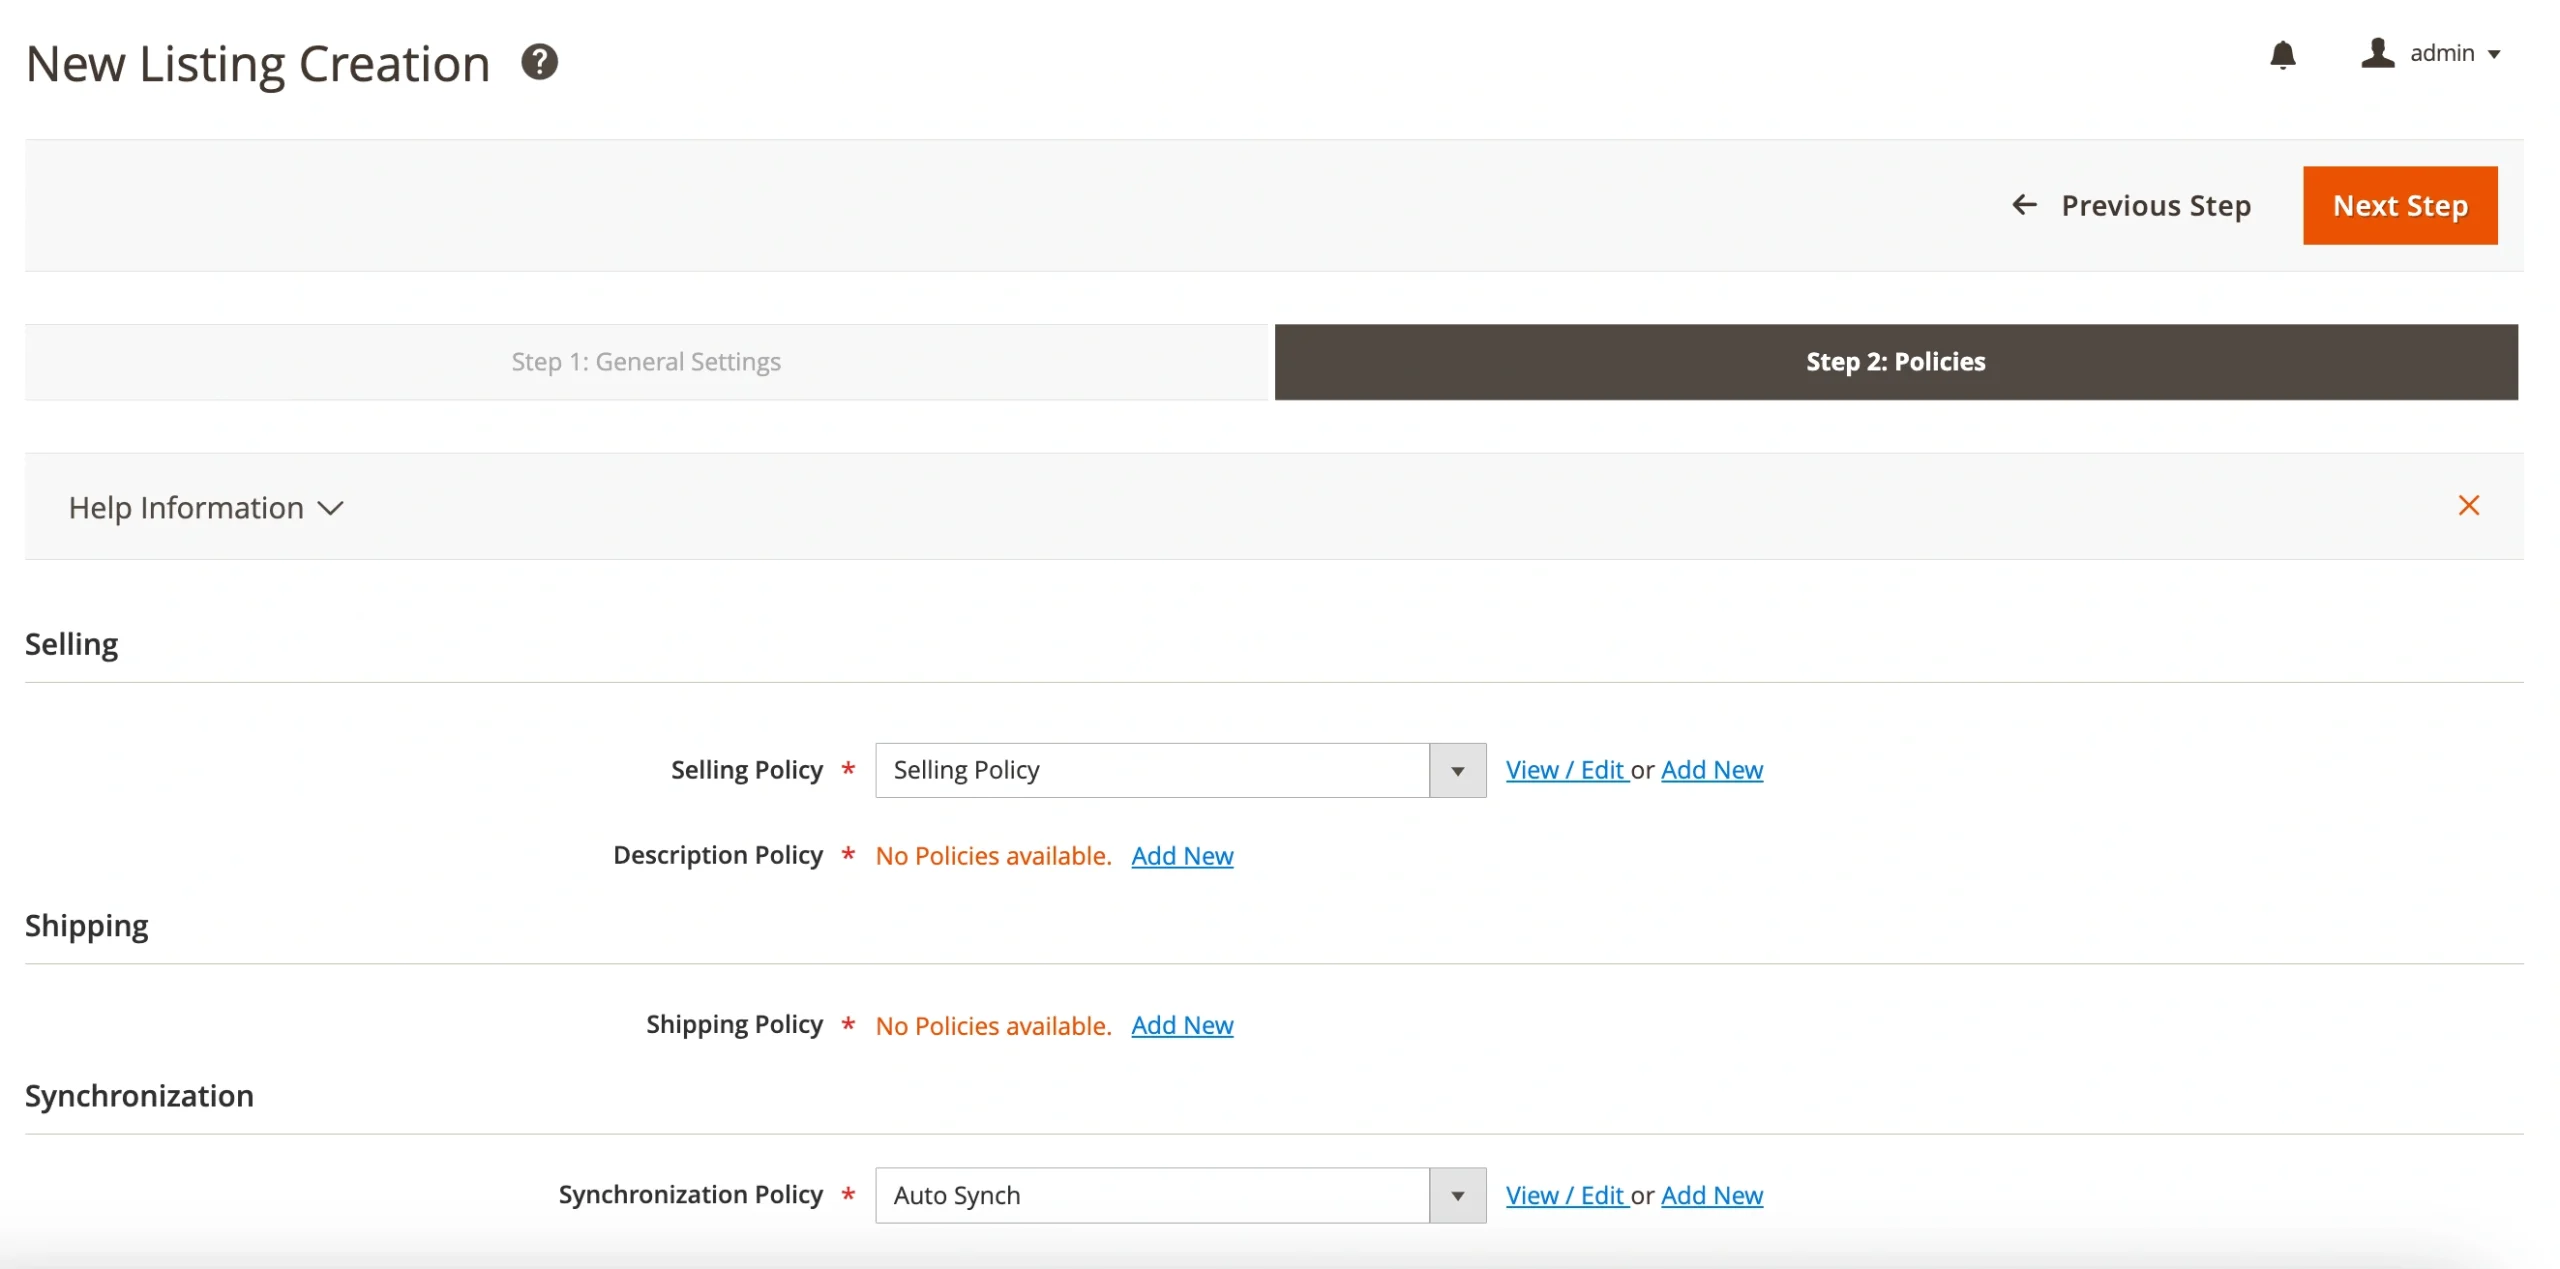
ℹ️ Policies are settings that can be applied across multiple M2E Temu Listings.
You can define the following Listing Policies:
- Selling Policy – Configure quantity and pricing settings.
- Description Policy – Set a detailed description for your Temu products to attract more buyers.
- Shipping Policy – Specify shipping settings for your Temu orders.
- Synchronization Policy – Define rules for syncing your items with Magento Catalog data.
✅ All saved Policies can be modified later in the Configuration section.
Once your M2E Temu Listing is created, you need to add your Magento products to it.


