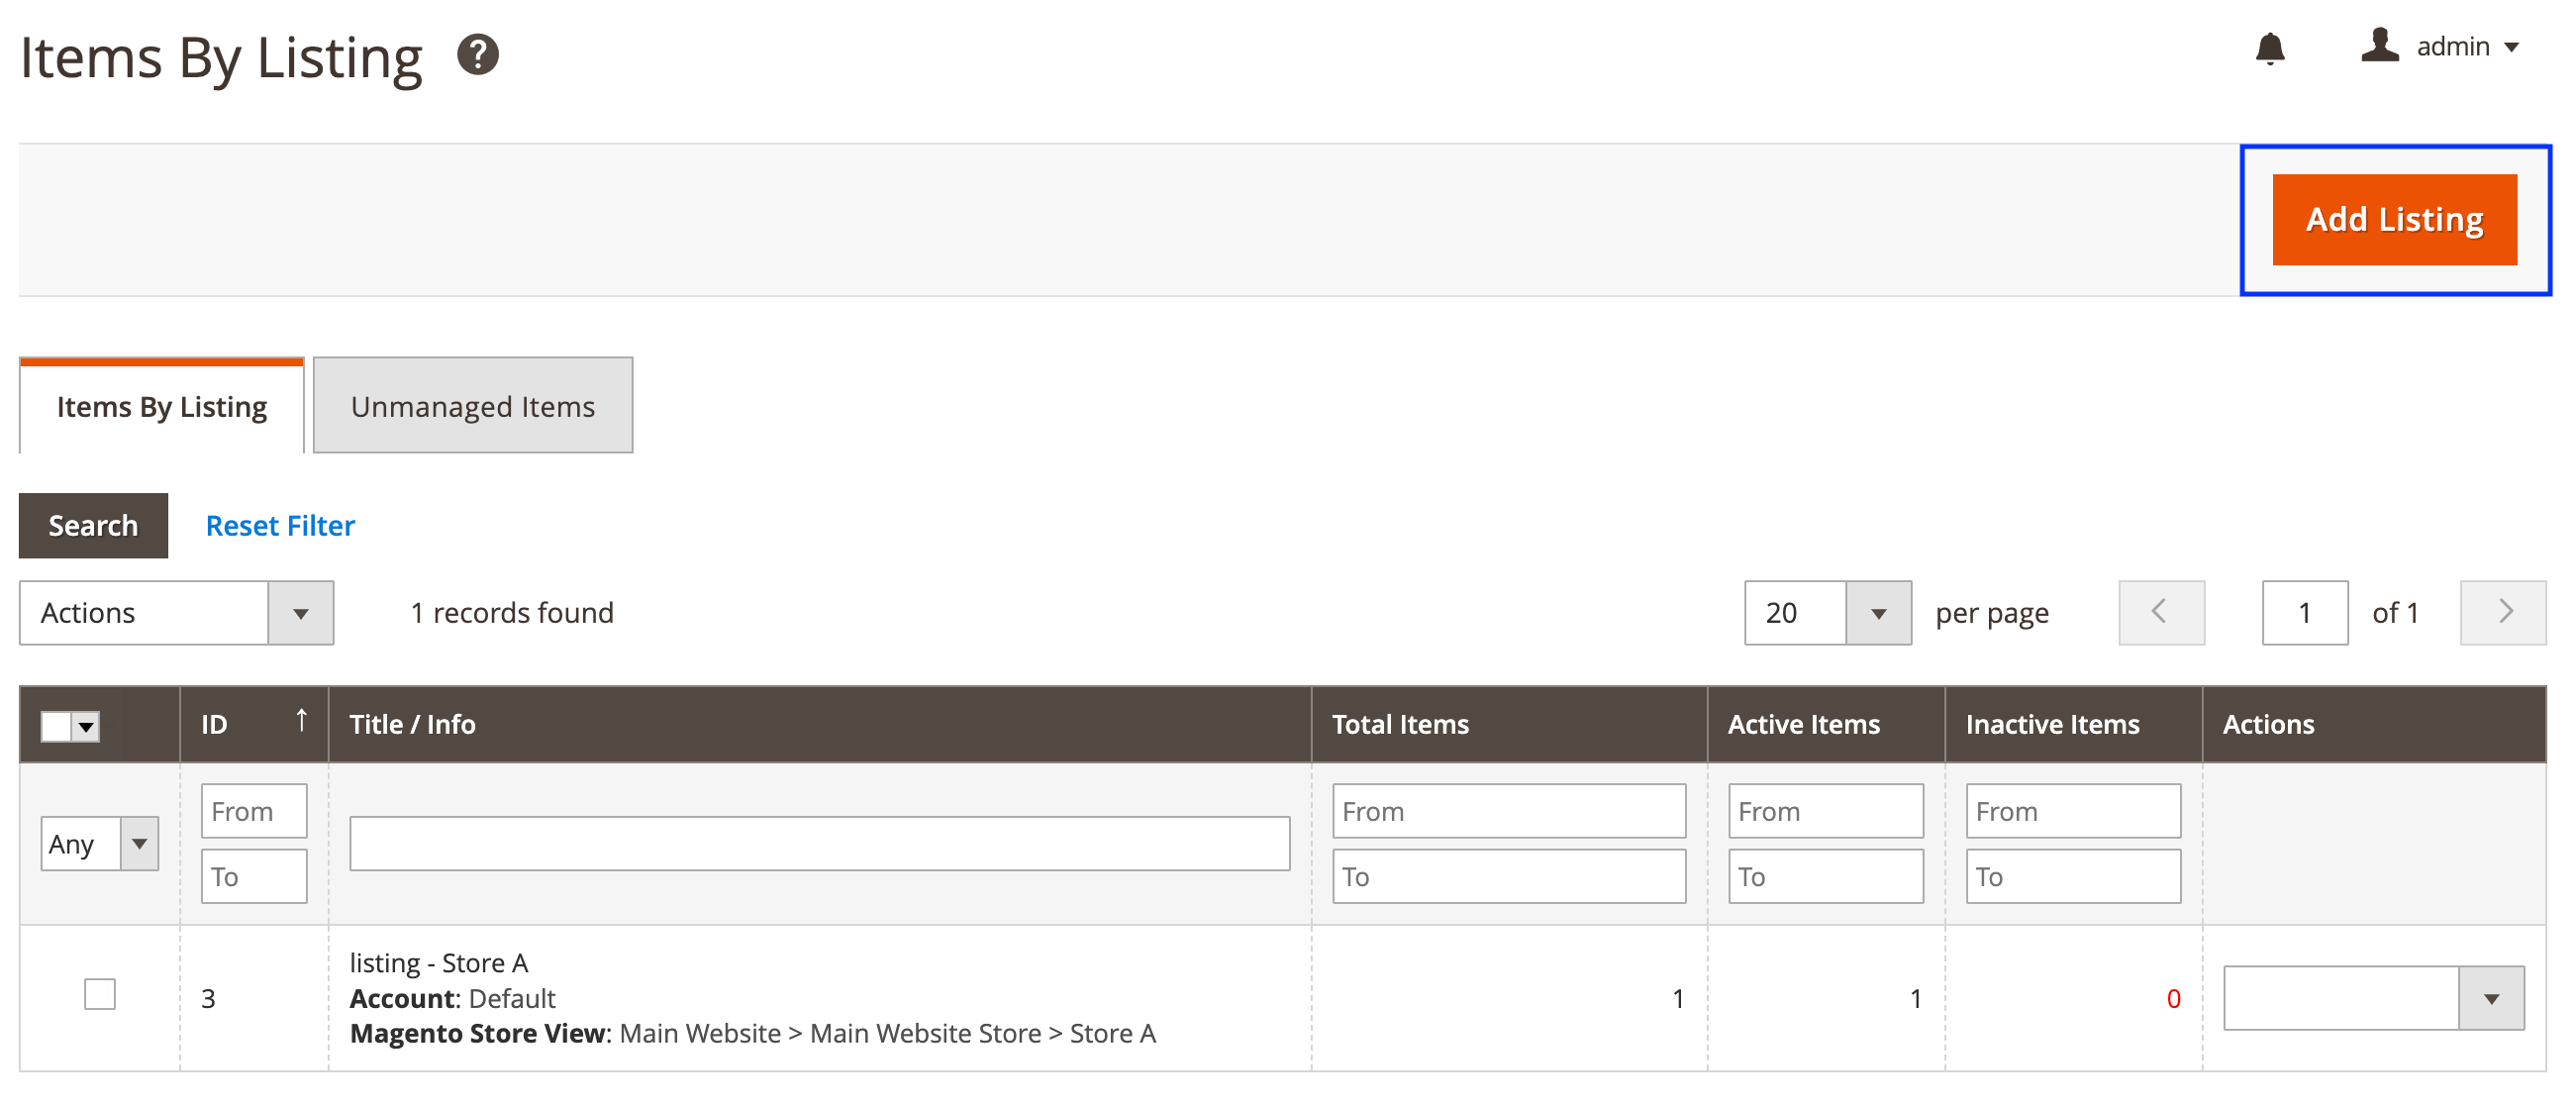
To create an M2E OTTO Listing, go to OTTO > Listings > Items and click Add Listing.
Listing creation takes only two steps.
Step 1: General Settings #
General #

Enter a descriptive and meaningful title for your M2E OTTO Listing.
ℹ️ This title will be used only for your convenience in the extension and won’t appear in your OTTO products.
OTTO Settings #

If you’ve added multiple OTTO accounts, choose the one you’re going to use for this Listing.
Magento Settings #

Magento Store View
Choose the Magento Store View you want to use for this M2E OTTO Listing. Please remember that Attribute values from the selected Store View will be used in the Listing.
Step 2: Policies #
In the second step, you need to specify Policies for the M2E OTTO Listings.
ℹ️ Policy is a combination of settings that can be used in different M2E OTTO Listings.
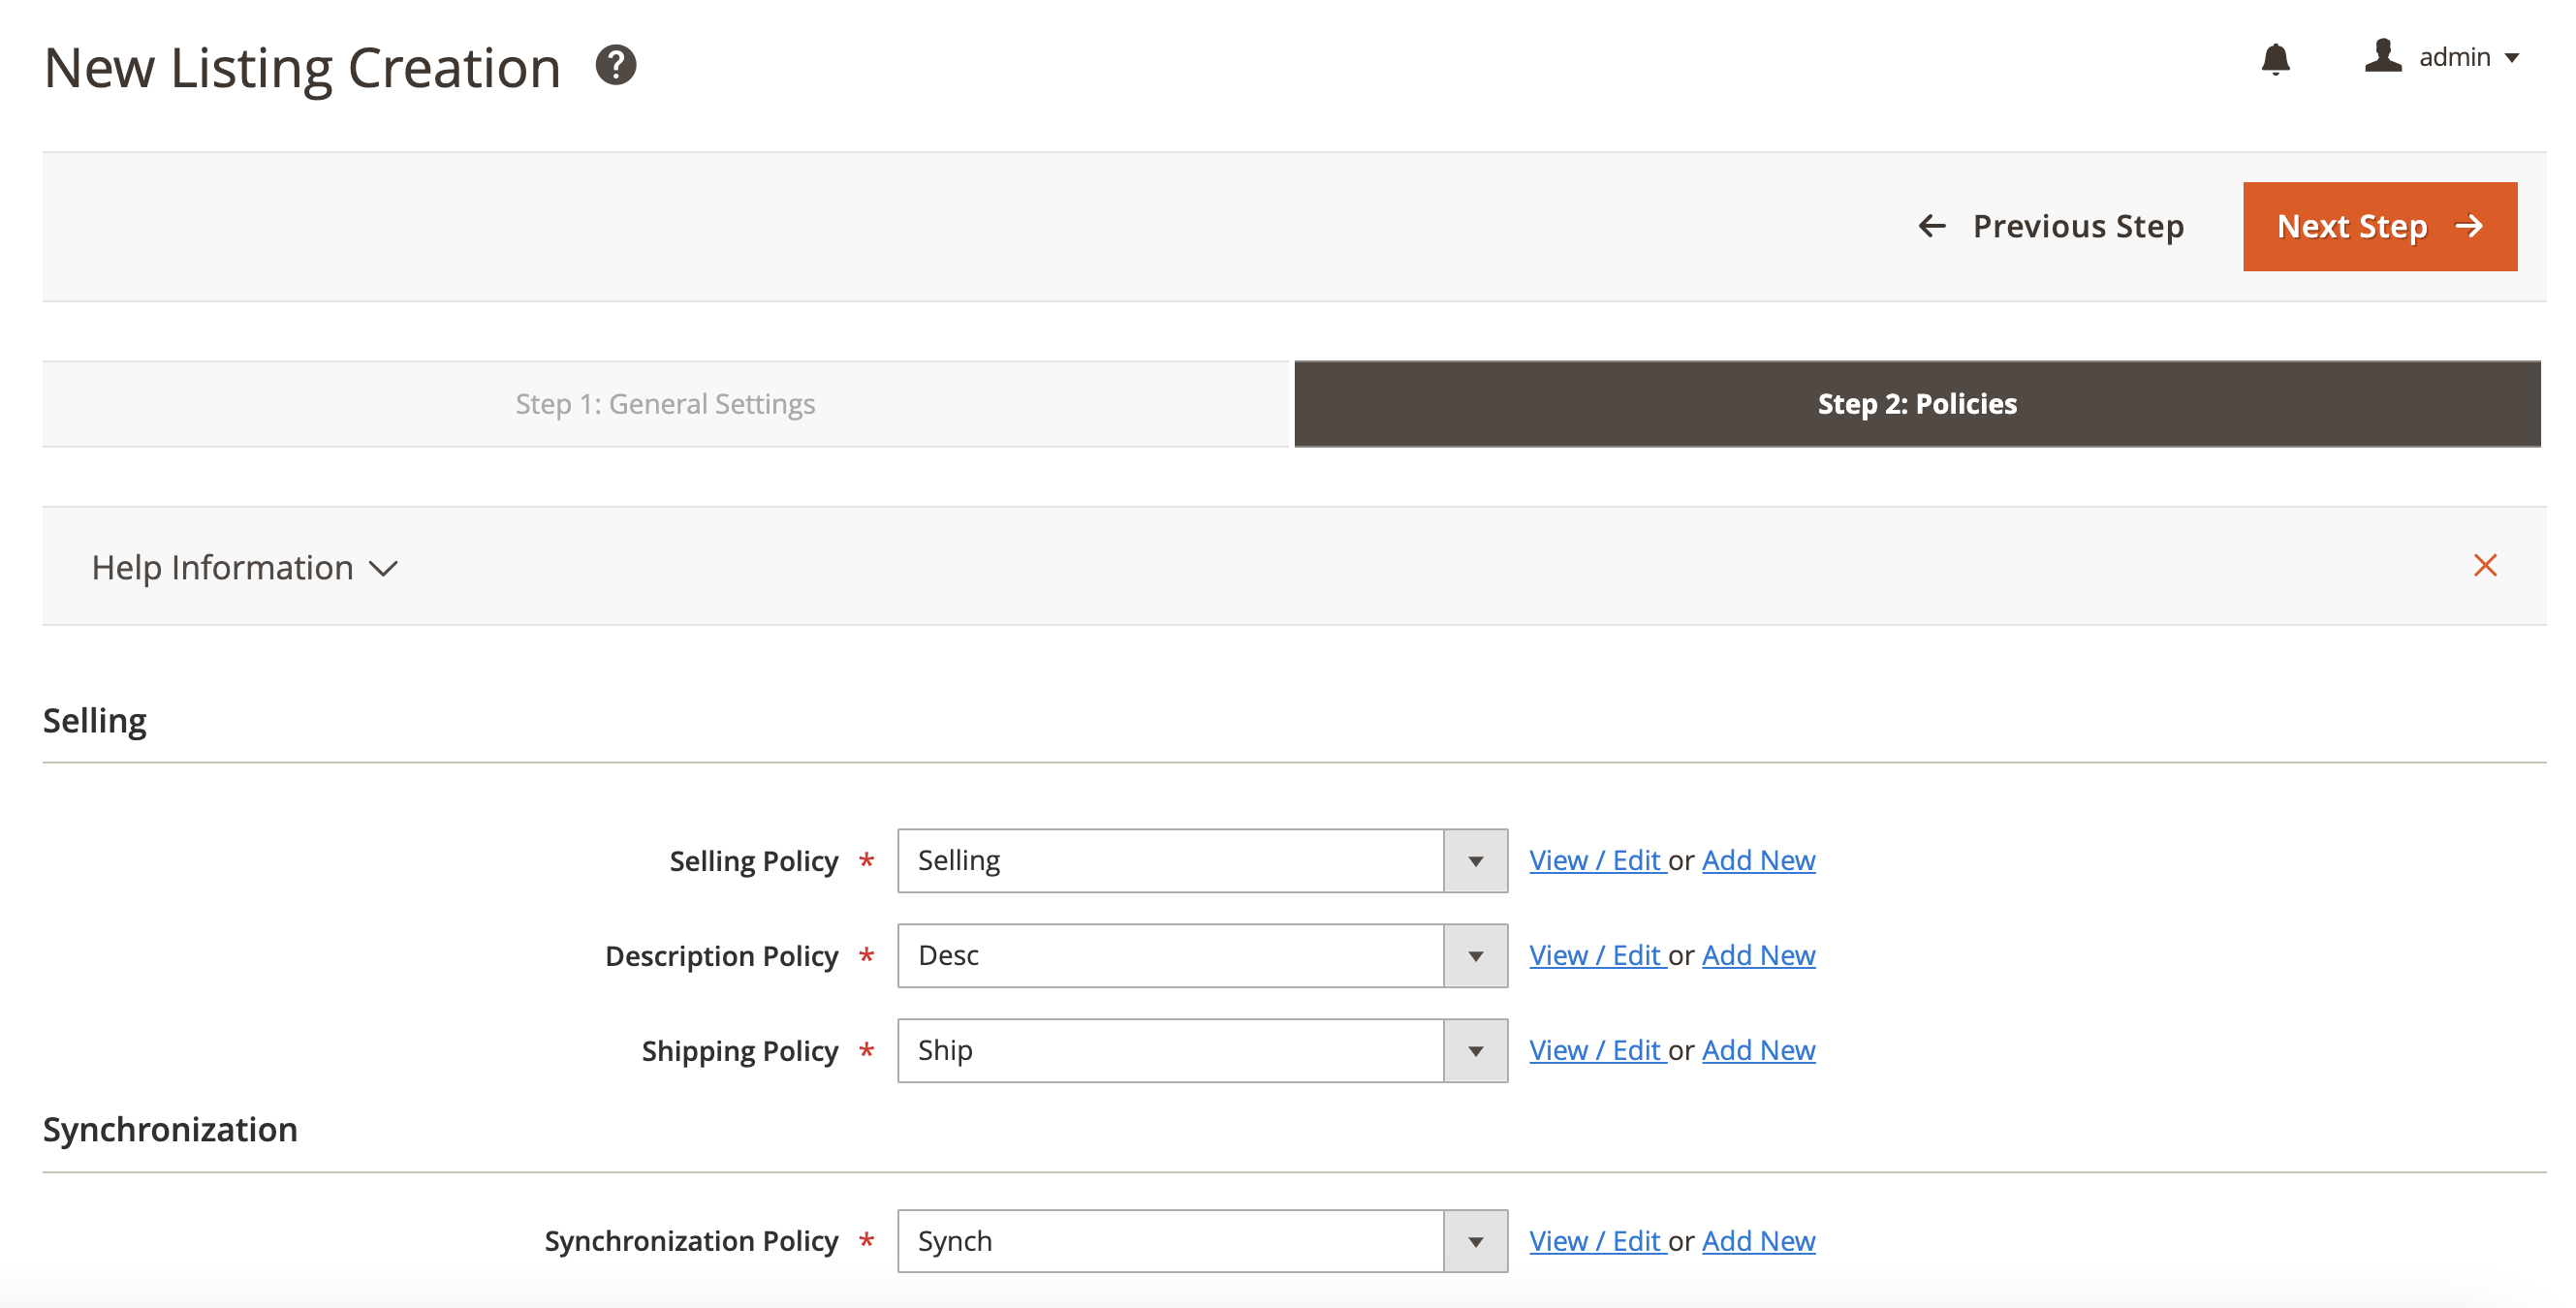
Provide quantity settings, a competitive price for your items, as well as a detailed item description to attract more buyers. For that, select Selling and Description Policies for the Listing. Use Shipping Policy to specify shipping settings for your orders.
You can set the preferences for synchronizing your items with Magento Catalog data. The rules can be defined in the Synchronization Policy.
After you set all the policies, click Save.
✅ All saved Policies can be edited later in the Configuration section.
Once your M2E OTTO Listing is created, you need to add your Magento products to it.


