M2E OnBuy Connect simplifies listing your Magento catalog products on the OnBuy marketplace. It provides seamless inventory and order management while keeping your data synchronized between OnBuy and Magento.
Basic Requirements #
For a smooth start with selling your Magento products on OnBuy via M2E, ensure that:
- You have installed the M2E OnBuy Connect extension in your Magento store.
- You have registered an account on OnBuy and configured your seller settings.
Step 1. Set Up Your Account #
If you're new to M2E, provide your contact information to create your personal profile on M2E Accounts.
Step 2. Connect Your OnBuy Account #
Select the OnBuy account you want to link to the extension. Then, confirm access permissions for your OnBuy account information.
Provide API keys details which can be found under OnBuy Seller Control Panel > Listing > Import & Integrations > OnBuy API > Connection Details.
This step allows the extension to list and manage your products on OnBuy.
Step 3. Specify General Settings #
Configure the basic settings for managing your OnBuy products, including pricing, stock synchronization, and shipping preferences.
Step 4. Create an M2E OnBuy Listing #
An M2E OnBuy Listing is a structured collection of products you want to sell on OnBuy, with consistent settings applied. Here's how you can create an M2E OnBuy Listing.

- Specify Listing Title – Give your listing a clear and descriptive title.
- Select the OnBuy Site – Choose the OnBuy marketplace where you want to list products.
- Choose Magento Store View – Select a Store View as the source for your product data to ensure accurate details appear on OnBuy.
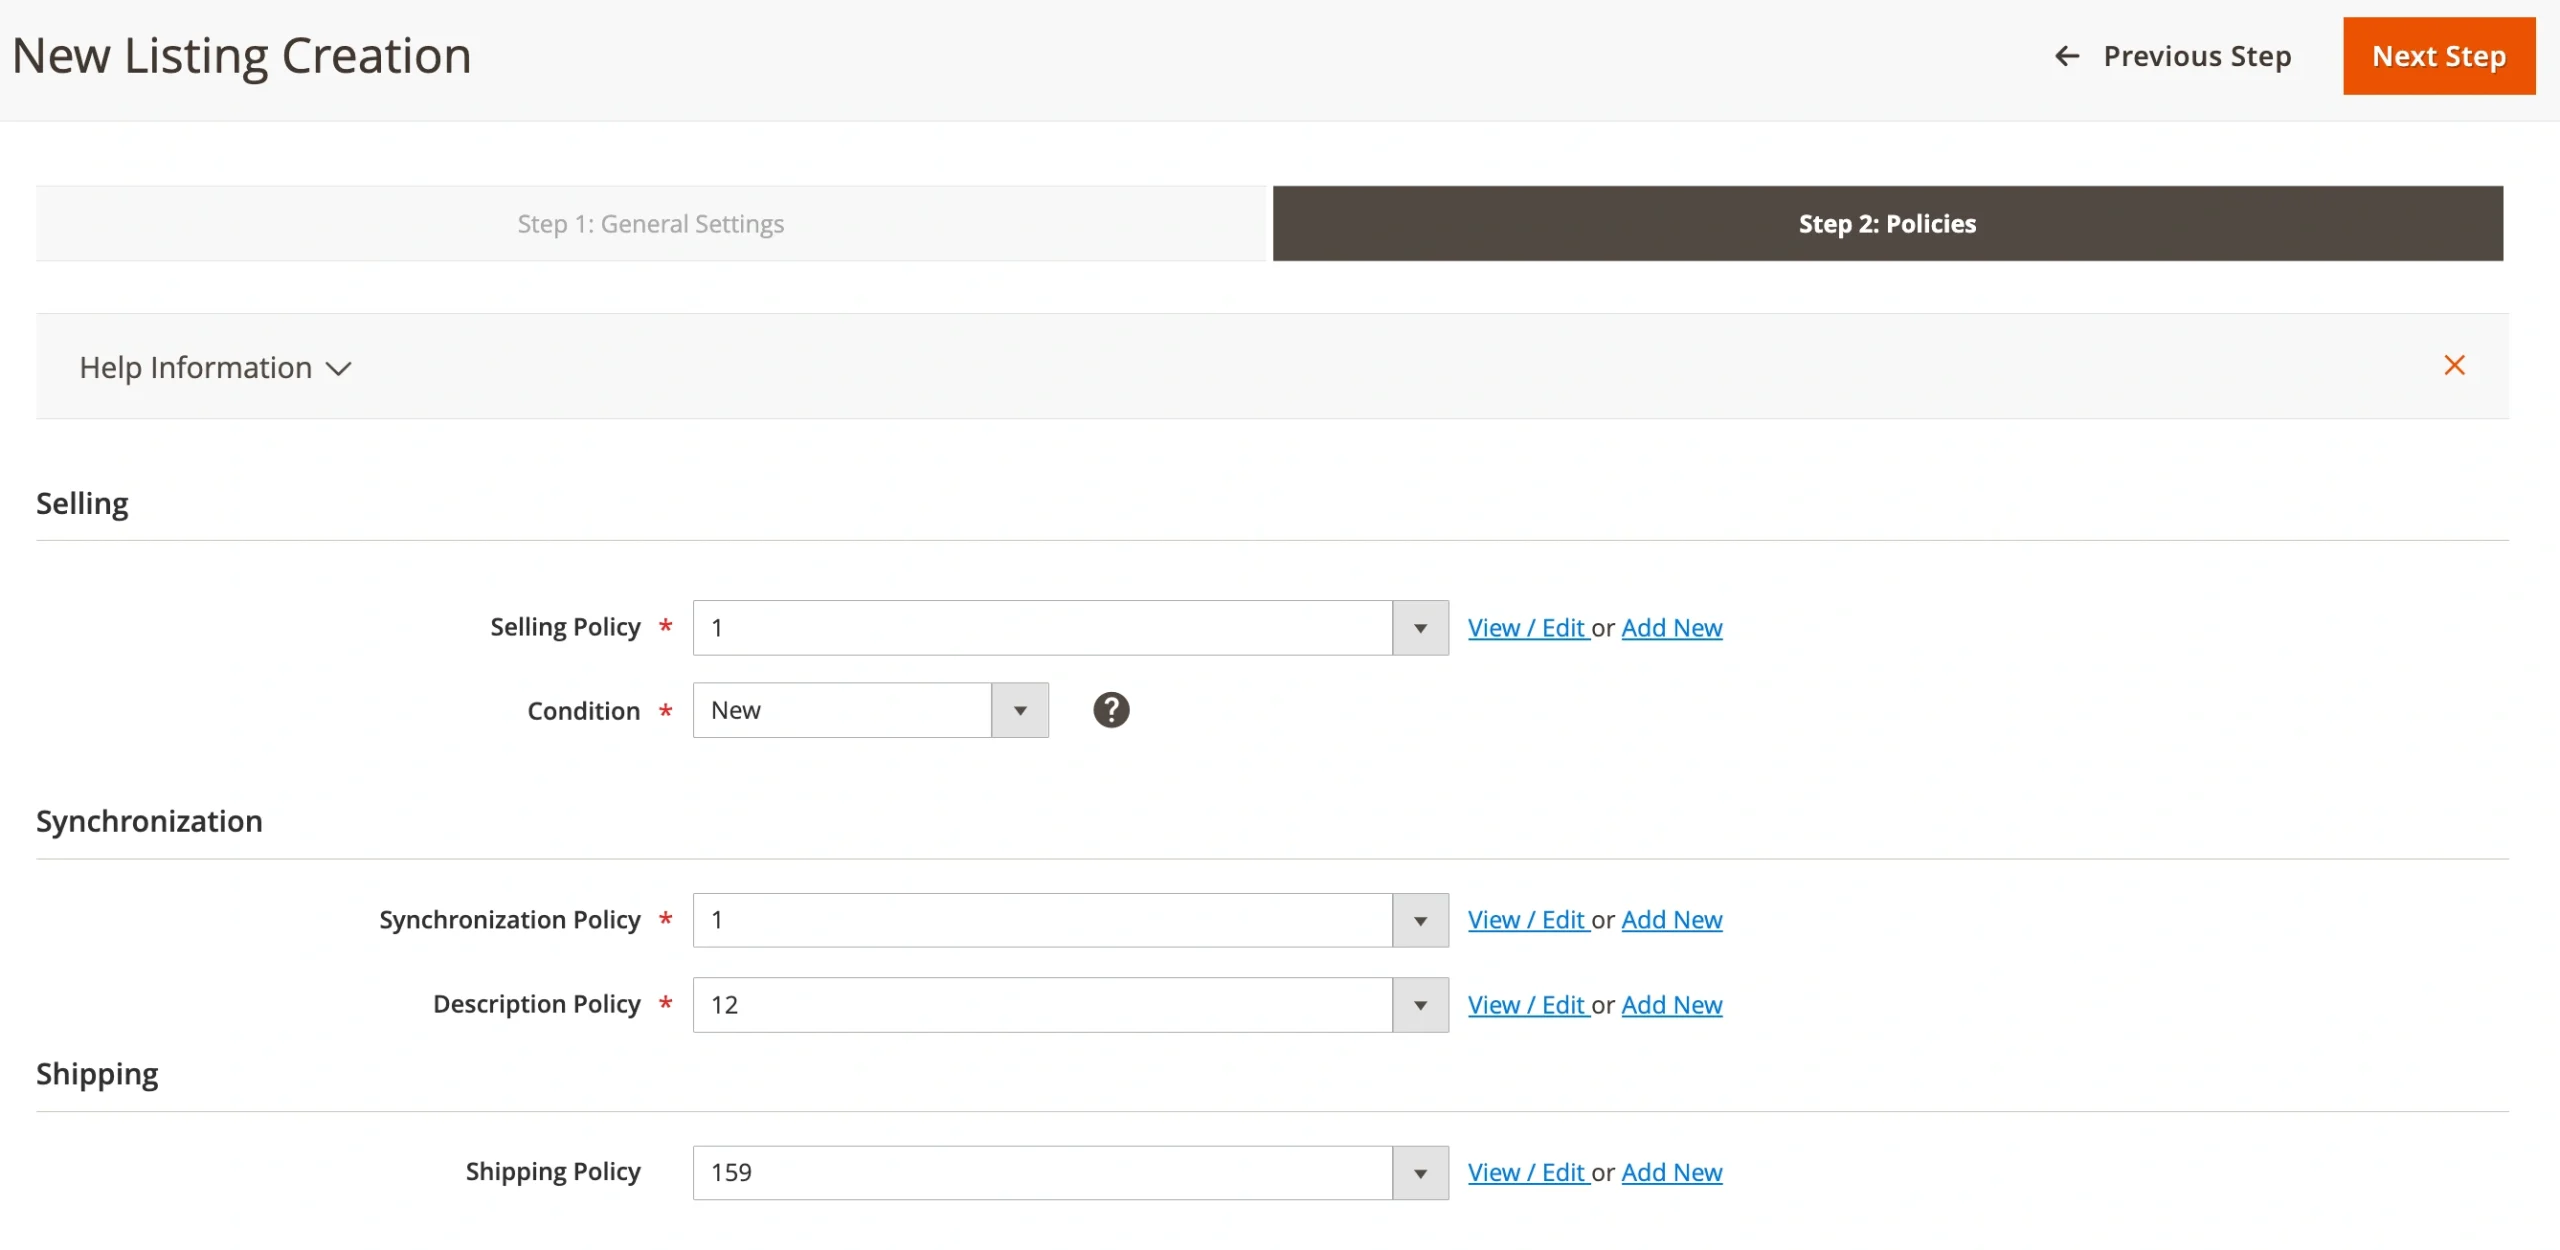
- Set Policies – Define your listing policies, which cover essential settings for product listing on OnBuy and how the extension will synchronize and manage inventory with your Magento store. You will also need to specify the condition that best describes the current state of your product.
Step 5. Add Products to the Listing #
Browse your Magento catalog and select the products you want to list on the OnBuy marketplace. These products will be managed through the extension and synchronized with OnBuy.

Step 6. List Products on OnBuy #
Once Magento Products are selected, the extension automatically searches for a matching existing product on OnBuy using the EAN/UPC information specified under Configuration > Settings > Main > Product.
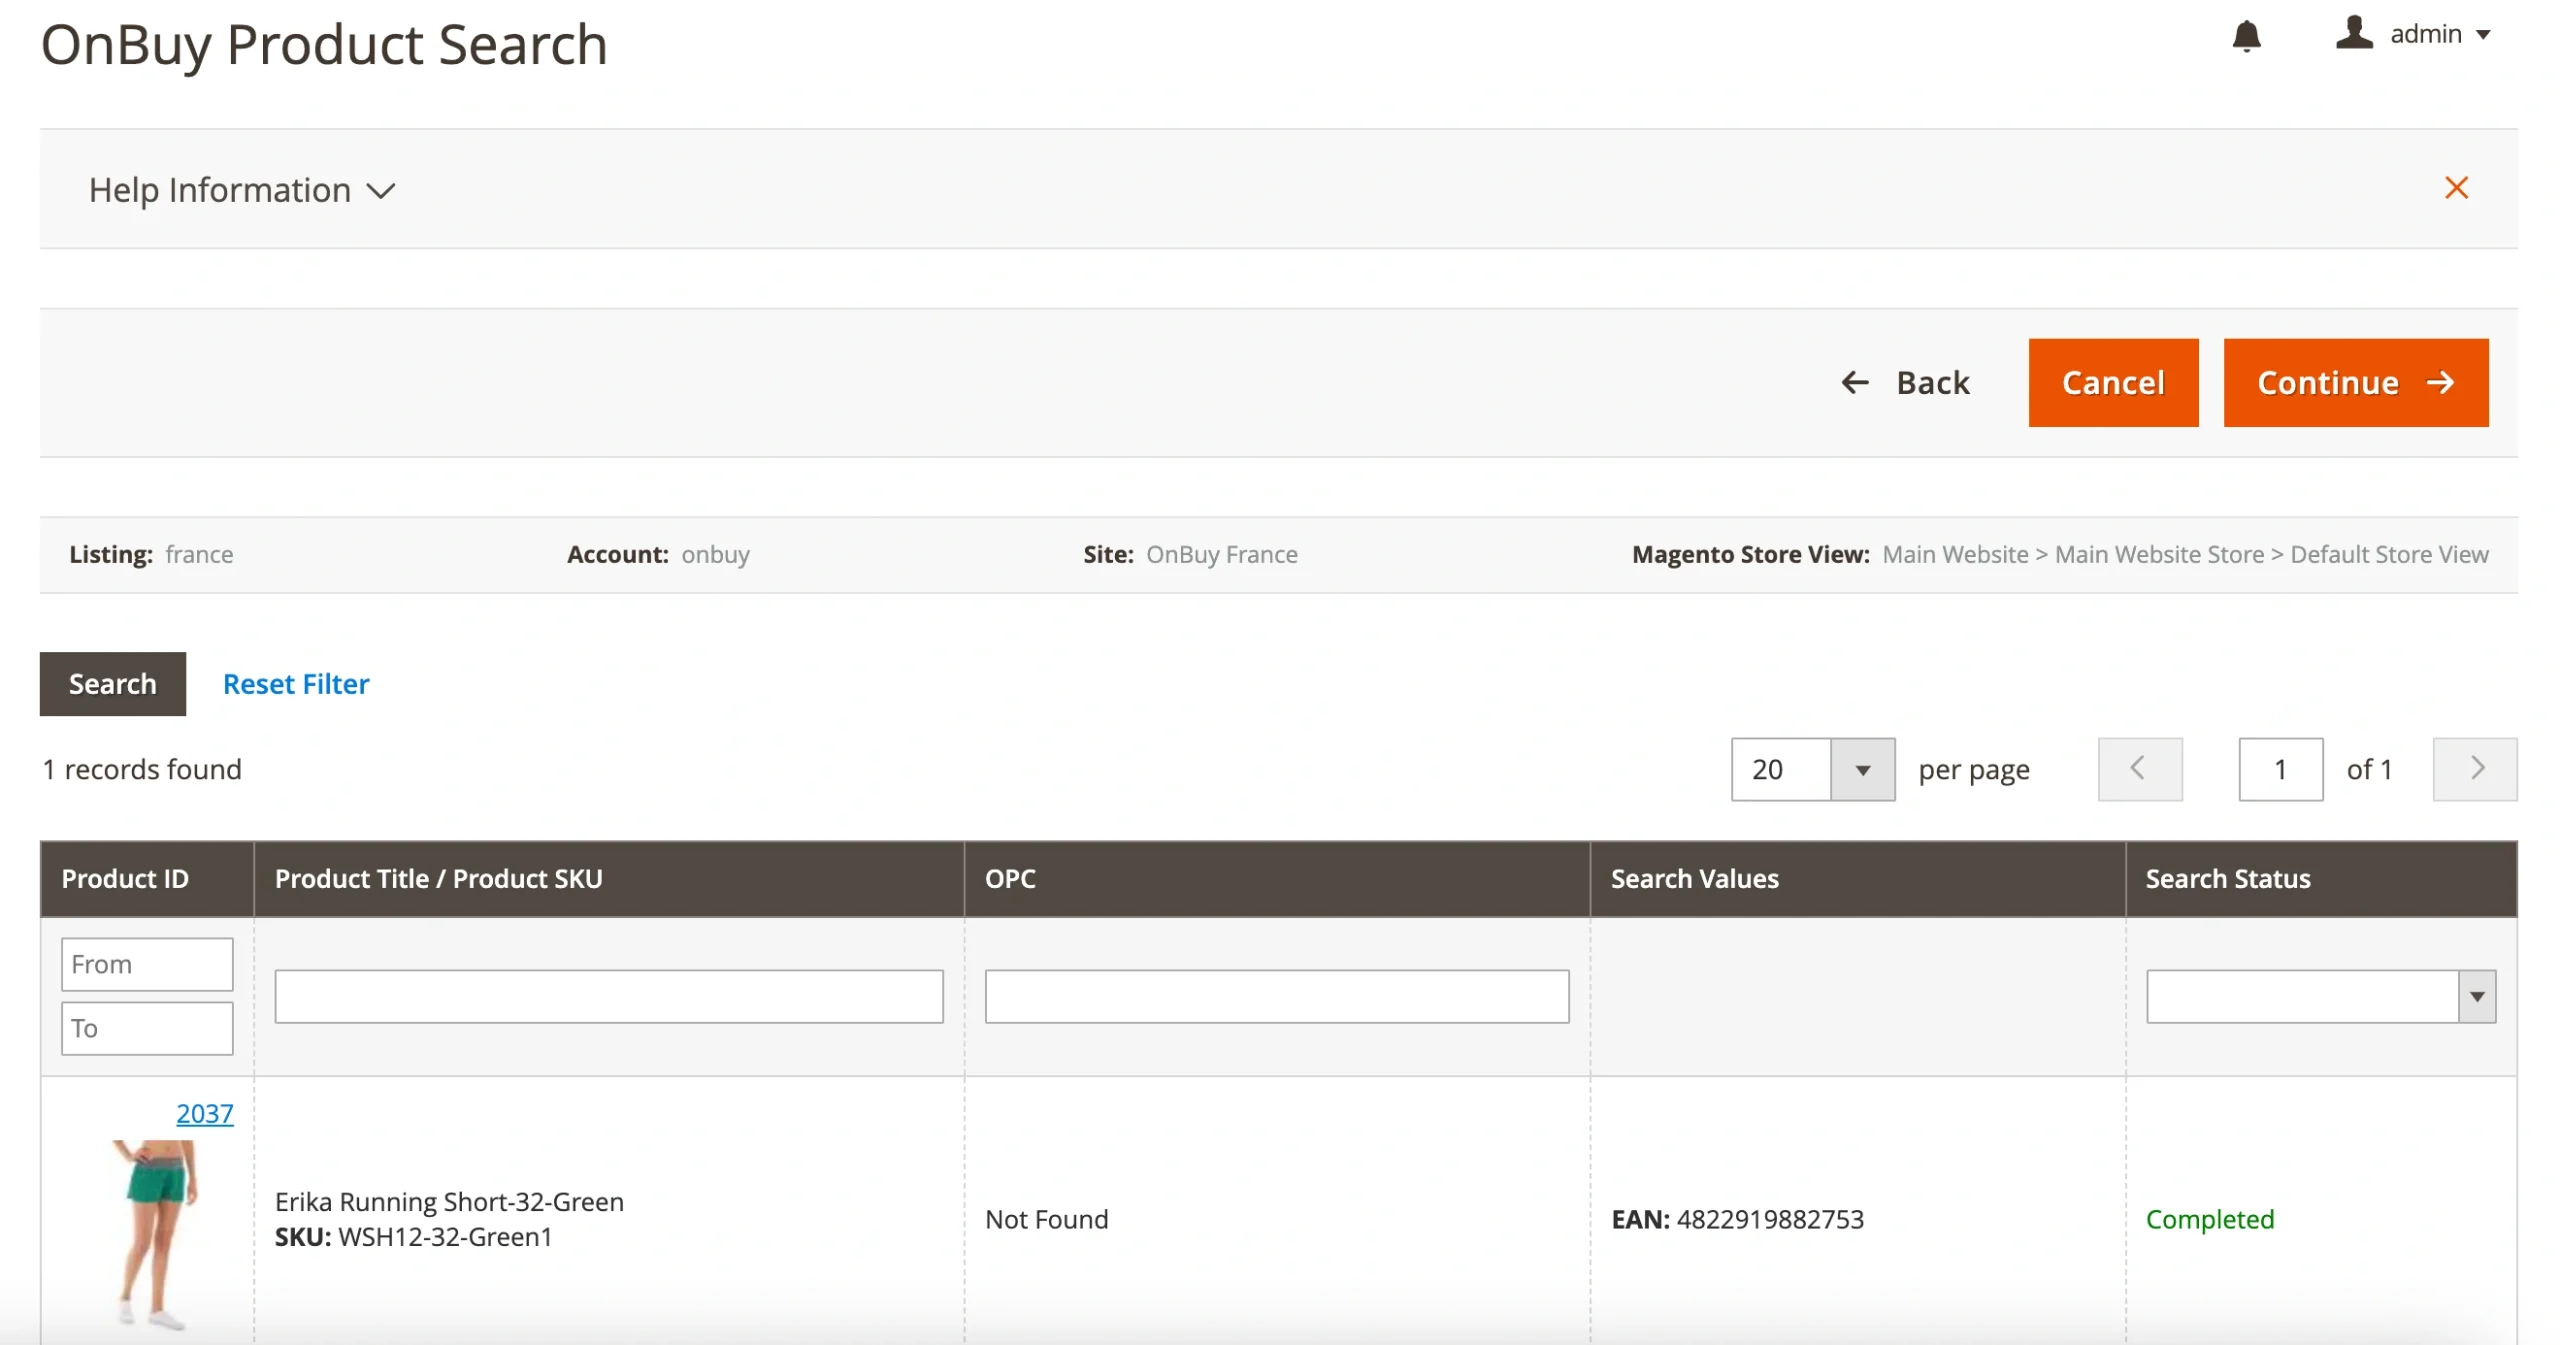
When a match is found, your product will be listed under the existing OnBuy page.
If no matching product is found in the marketplace’s catalog, you'll be prompted to confirm the creation of a new OnBuy product. Simply click Continue and then Yes in the pop-up window.
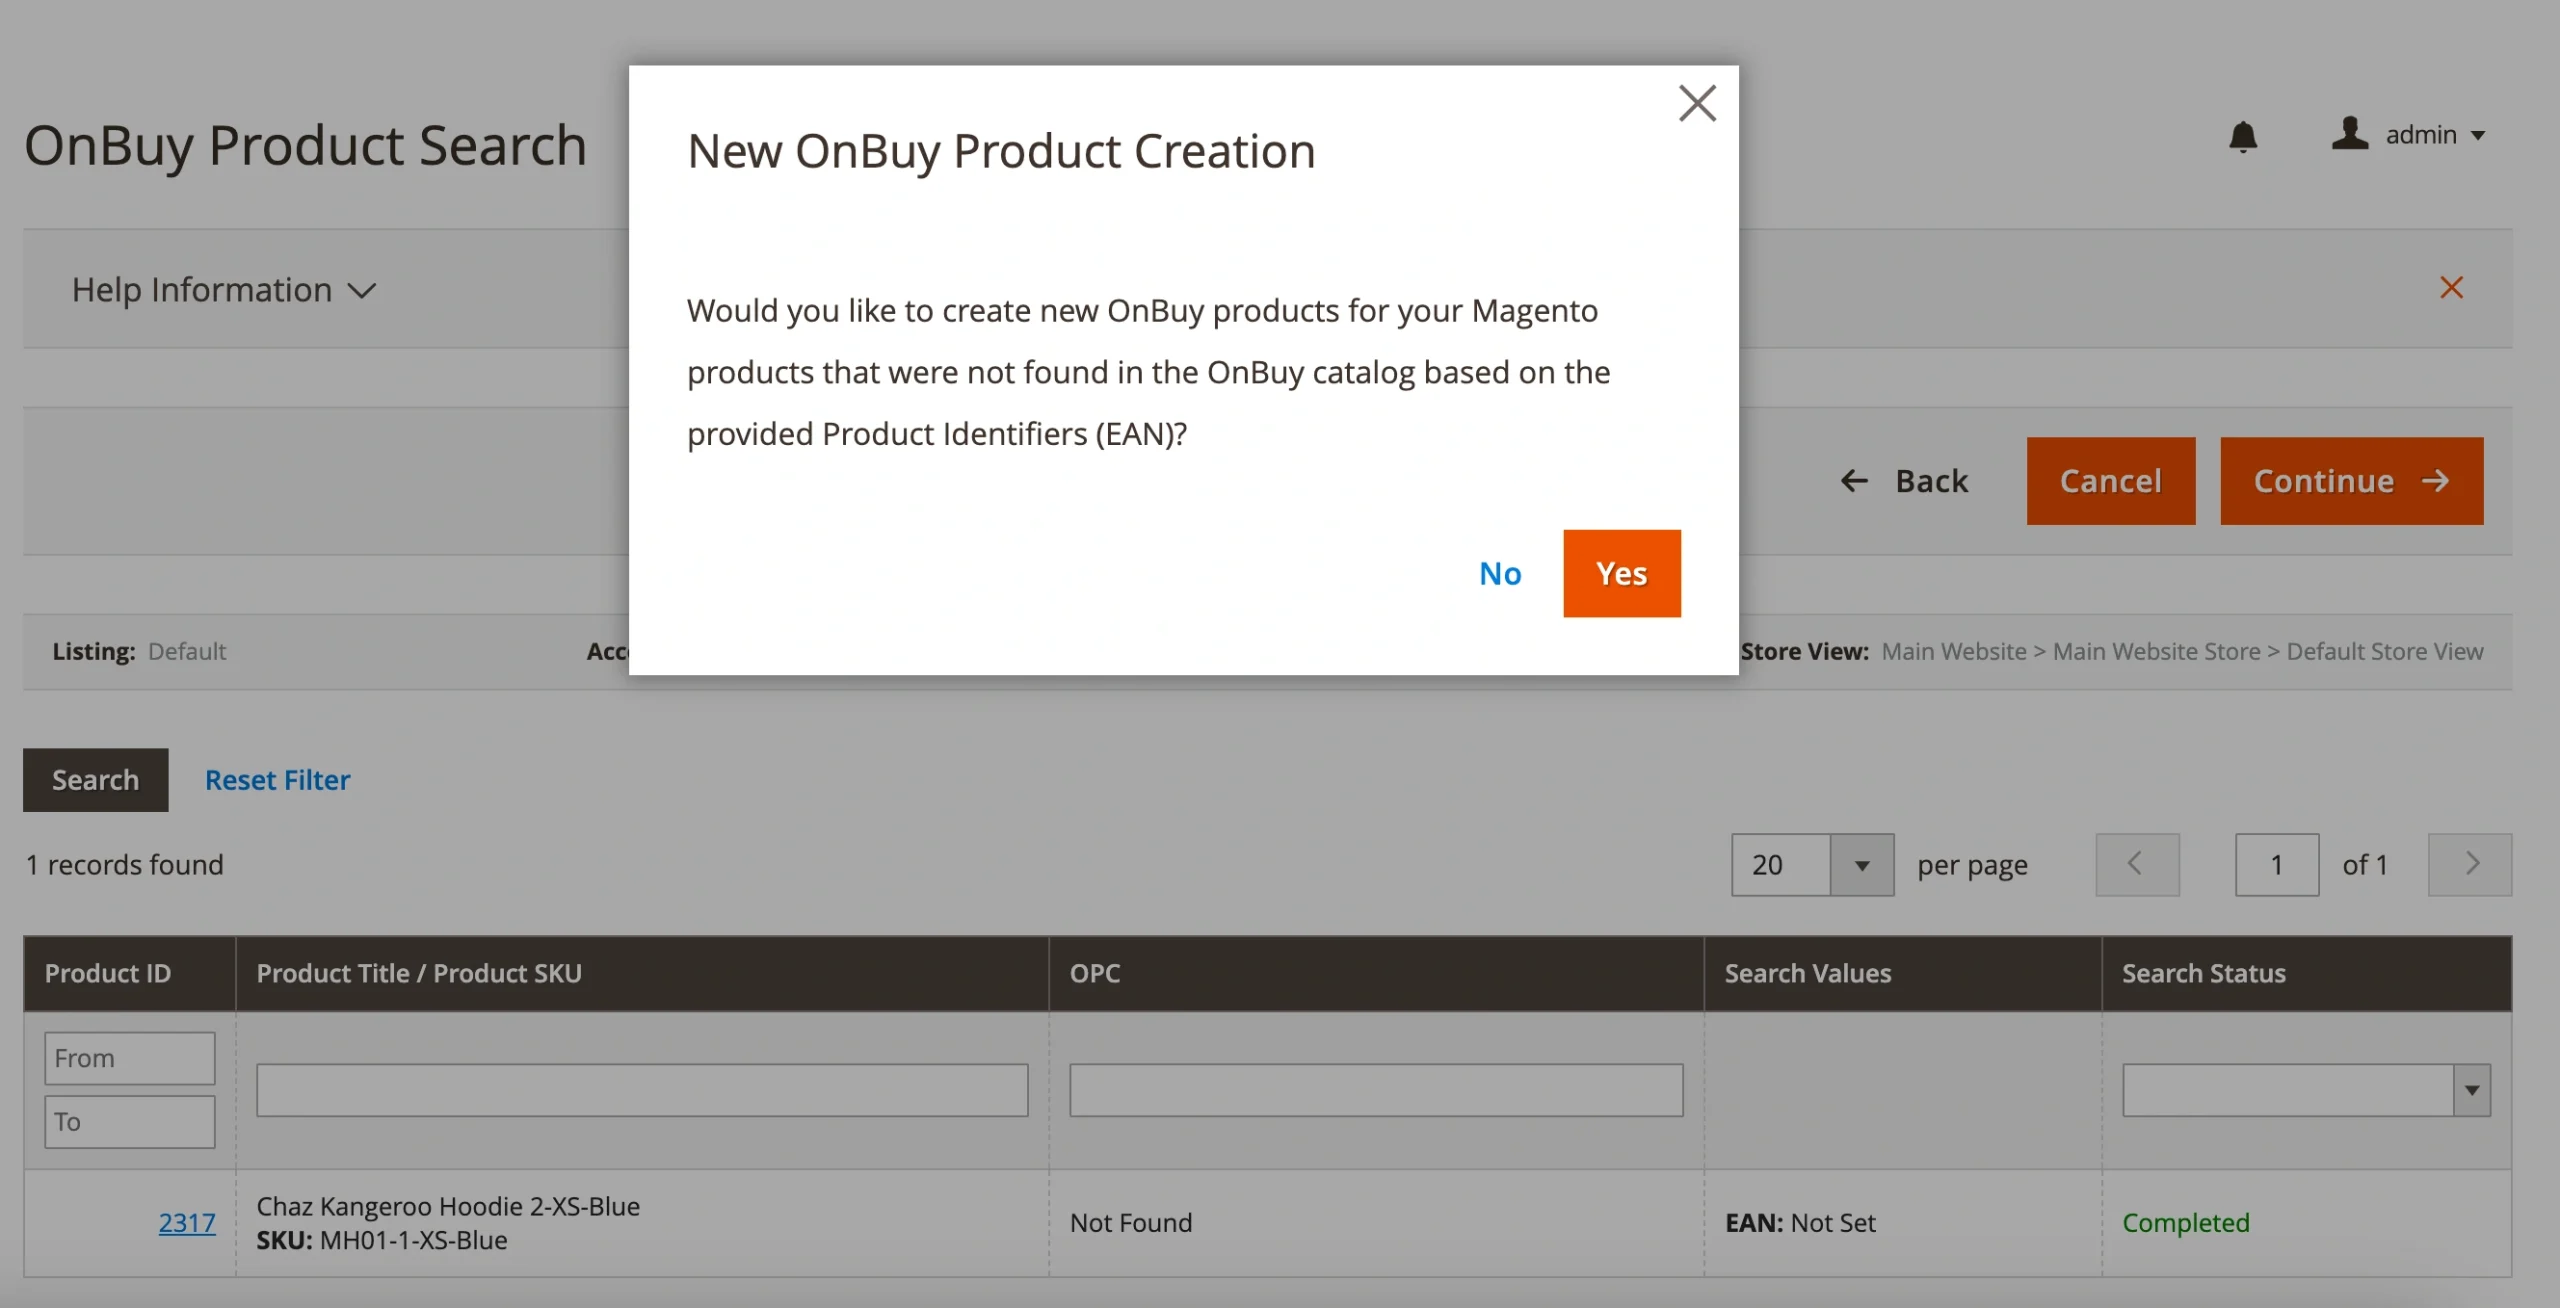
For new OnBuy product creation, you will need to select the appropriate category.
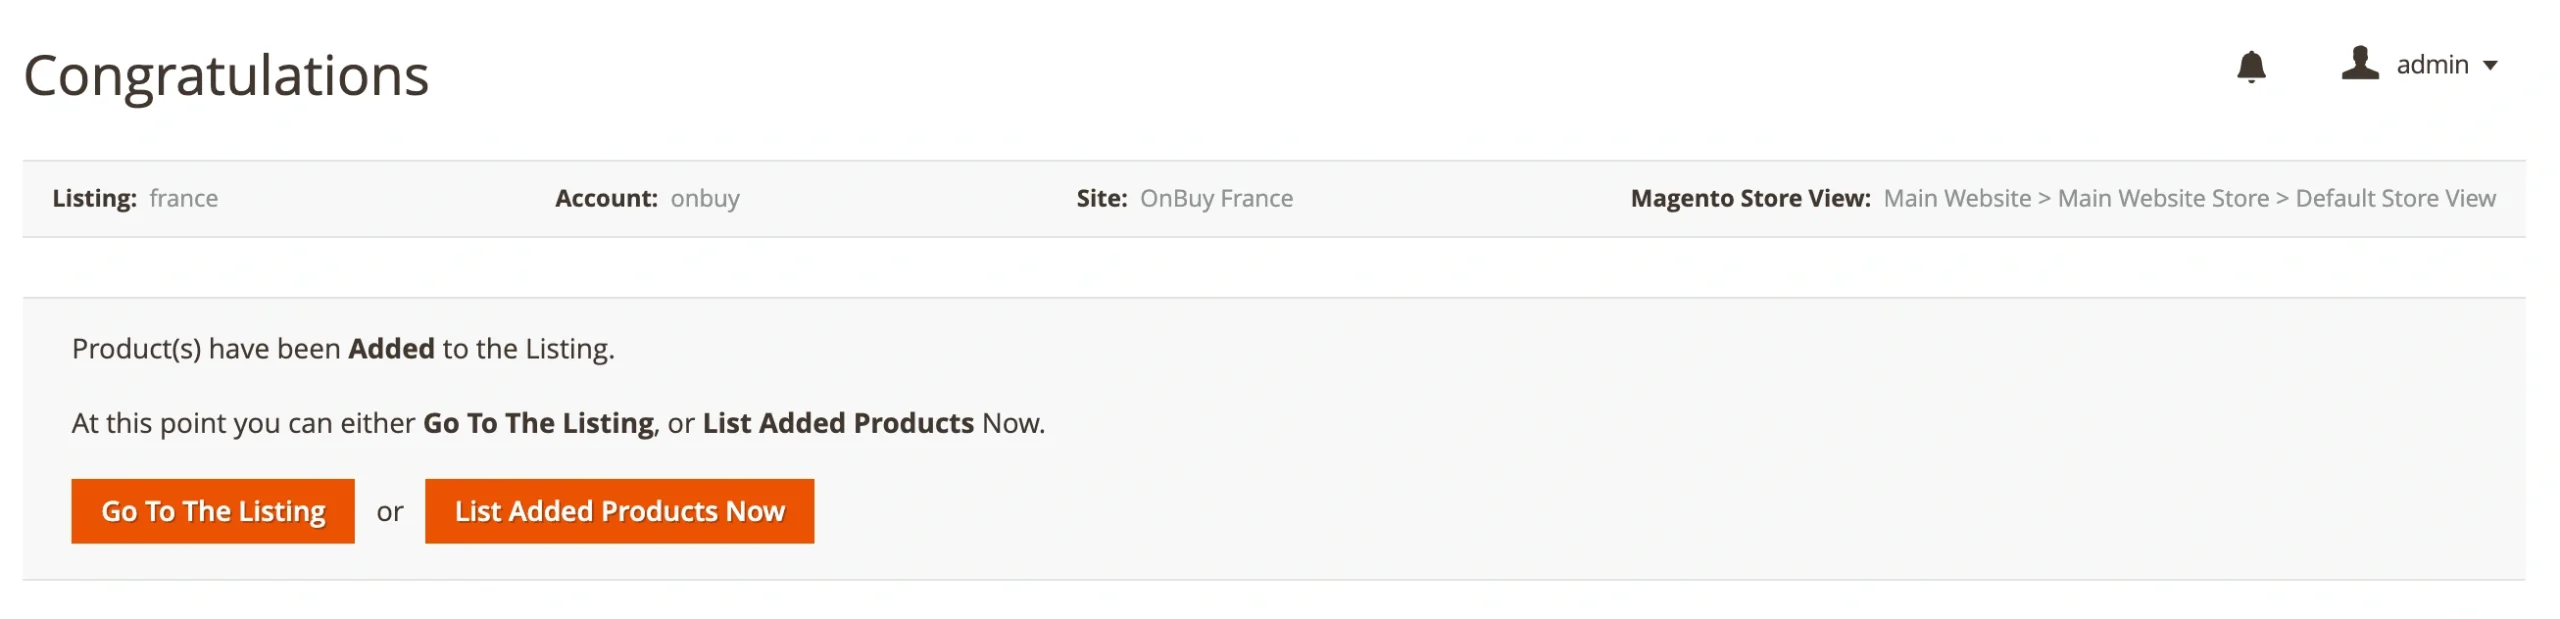
Once your products are matched or categorized, click Continue. Then, click List Added Products Now to publish them on OnBuy.
The extension will continuously sync product and order data between Magento and OnBuy, maintaining accuracy across platforms.
Alternatively, you can Go To The Listing and list your products when you're ready to make them available for purchase.
By following these steps, you're equipped to successfully sell your Magento products on OnBuy using the M2E Connect extension.


