In this tutorial, you will learn how to start selling your Magento Products on Walmart via M2E Pro. You will go through the preliminary set-up reactions and configuration of Walmart integration.
Step 1. Module registration #
Provide your contact details. These details will be associated with your M2E Pro License Key. Once you complete the step, please click Continue.

Step 2. Account onboarding #
Select the US or Canada Marketplace to sync your Module with the marketplace data.
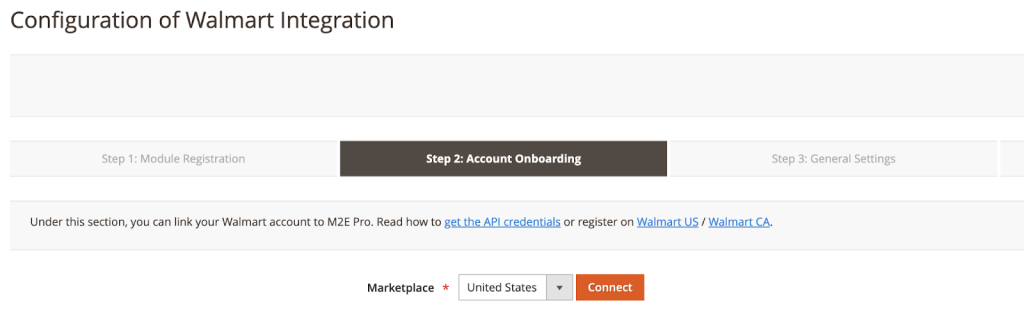
✅ At any time, you can enable/disable the Marketplaces, update the marketplace data under Walmart > Configuration > Marketplaces.
If you add Walmart US, please complete the following steps:
- After you select US Marketplace, click “Connect”
- You’ll be redirected to the Walmart authorization page

- Click Authorize
- Once you are redirected back to M2E Pro, click “Continue”
If you add Walmart CA, please complete the following steps:
- After you select CA Marketplace, you need to enter Consumer ID and Private Key

To get API Keys details:
1) Log in to the Walmart Developer Portal with your Walmart Seller credentials.
2) Click Add New Key For A Solution Provider in the API Keys section.

3) Select M2E *in the dropdown and click Next.
4) Specify the permissions you want to grant M2E Pro access to and click Submit.
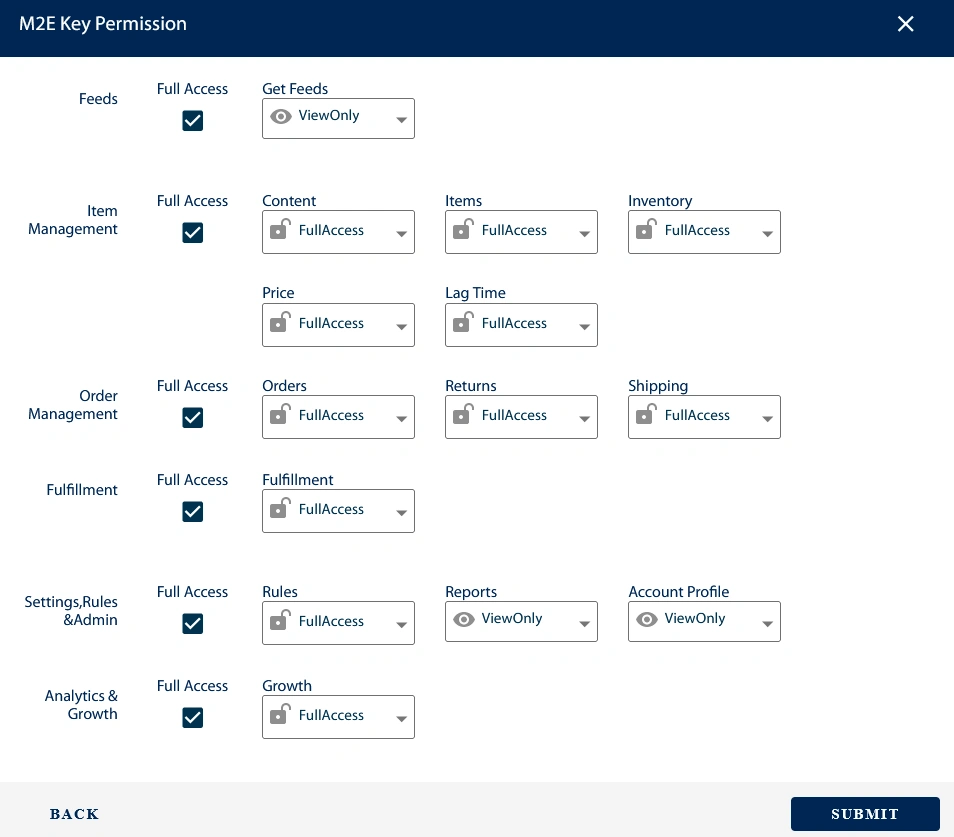
✅ For efficient work, M2E Pro should be granted Full Access permissions where possible.
⚠️ If some required permissions are missing, you’ll see the following error: “Access to some M2E Key Permissions is limited or restricted.
5) Copy and paste the generated Consumer ID and Private Key on Step 2 of the M2E Pro wizard. This way, the extension will be granted access to the specified Walmart account data.
6) Once the Account is configured, click Continue
✅ At any time, you can edit Account configuration under Walmart > Configuration > Accounts.
Step 3. General Settings #
Provide the SKU and Product ID settings, then press Continue.

⚠️ You must specify at least one valid and approved Product ID, i.e. GTIN, UPC, EAN, or ISBN. Otherwise, Walmart will not permit to place your offer on its website.
✅ At any time, you can edit SKU / Product ID settings under Walmart Integration > Configuration > Settings > Main. Please note that these settings affect only the non-listed products.
If you need to change the SKU/Product ID of the already listed products, you can use the Edit tool inside the Listing.
Step 4. First Listing Creation #
Congratulations! The basic configuration is completed:
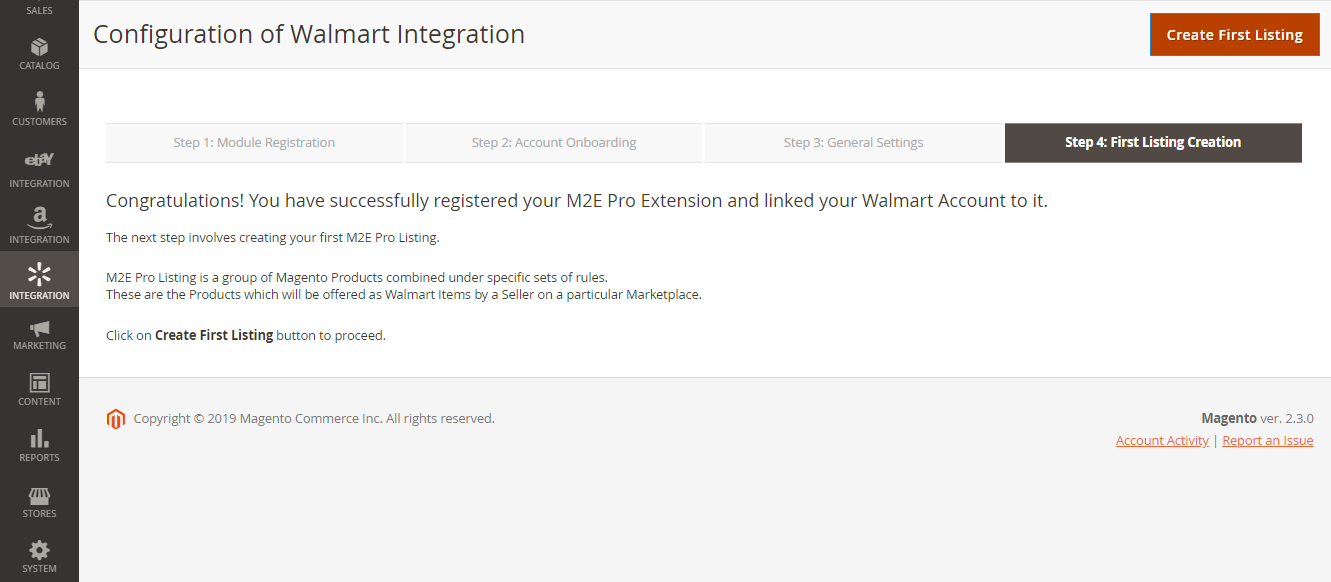
Now you can move forward – prepare your products to be listed on Walmart.
Press Create First Listing to proceed.
Final configurations #
Magento Products must be added to the M2E Pro Listing and listed on Walmart first. Using M2E Pro Listing, you may organize your products into different groups by certain parameters, e.g., product type, brand, promotion event, etc.
The product group approach allows you to share the same description, selling, and synchronization settings across all products inside the Listing.
To complete the configuration of Walmart Magento integration, you need to:
- create M2E Pro Listing;
- assign M2E Pro Policies to this Listing, i.e. description, selling, and synchronization settings;
- add Magento Products to M2E Pro Listing;
- define Walmart Product Type for each selected product.
✅ From this point on, M2E Pro starts managing your products automatically.
⚠️ There are some specific aspects to consider when managing products on Walmart Canada. Please refer to the guide for more information.


