Magento Invoice and Shipment Creation #
Under the Invoices & Shipments tab (TikTok Shop > Configuration > Accounts > edit Account), you can set M2E TikTok Shop Connect to create invoices and shipments in your Magento automatically. To do that, keep Magento Invoice/Shipment Creation options enabled:
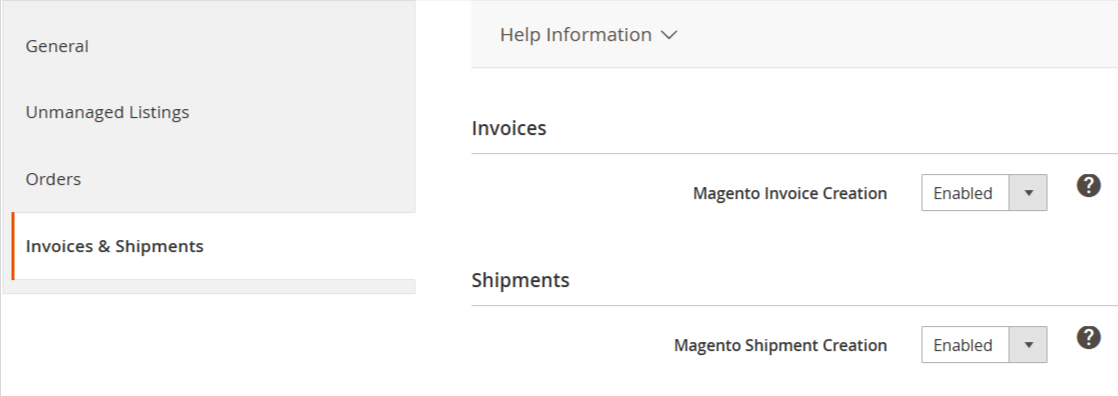
- Magento Invoice Creation - enable this option to automatically create an Invoice for the Magento order when the order status is Unshipped.
- Magento Shipment Creation - enable this option to automatically create a shipment for the Magento order when the associated order on Channel is shipped.
⚠️ If you manage your shipments directly on TTS or use a third-party tool, it is recommended to keep this option enabled. This is necessary to synchronize all the relevant order information between TTS and Magento.
Once M2E TTS Connect receives shipping and tracking data from TTS, it will be submitted to the Magento order. Then, a Magento Shipment will be created automatically, without any manual actions required.
Shipment Carrier Mapping #
TikTok Shop only permits officially approved shipping providers. Therefore, you need to identify and link approved carriers with those in your Magento store.
✅ In the following articles you can get familiar with approved TikTok Shop Shipping providers for the United Kingdom and United States.
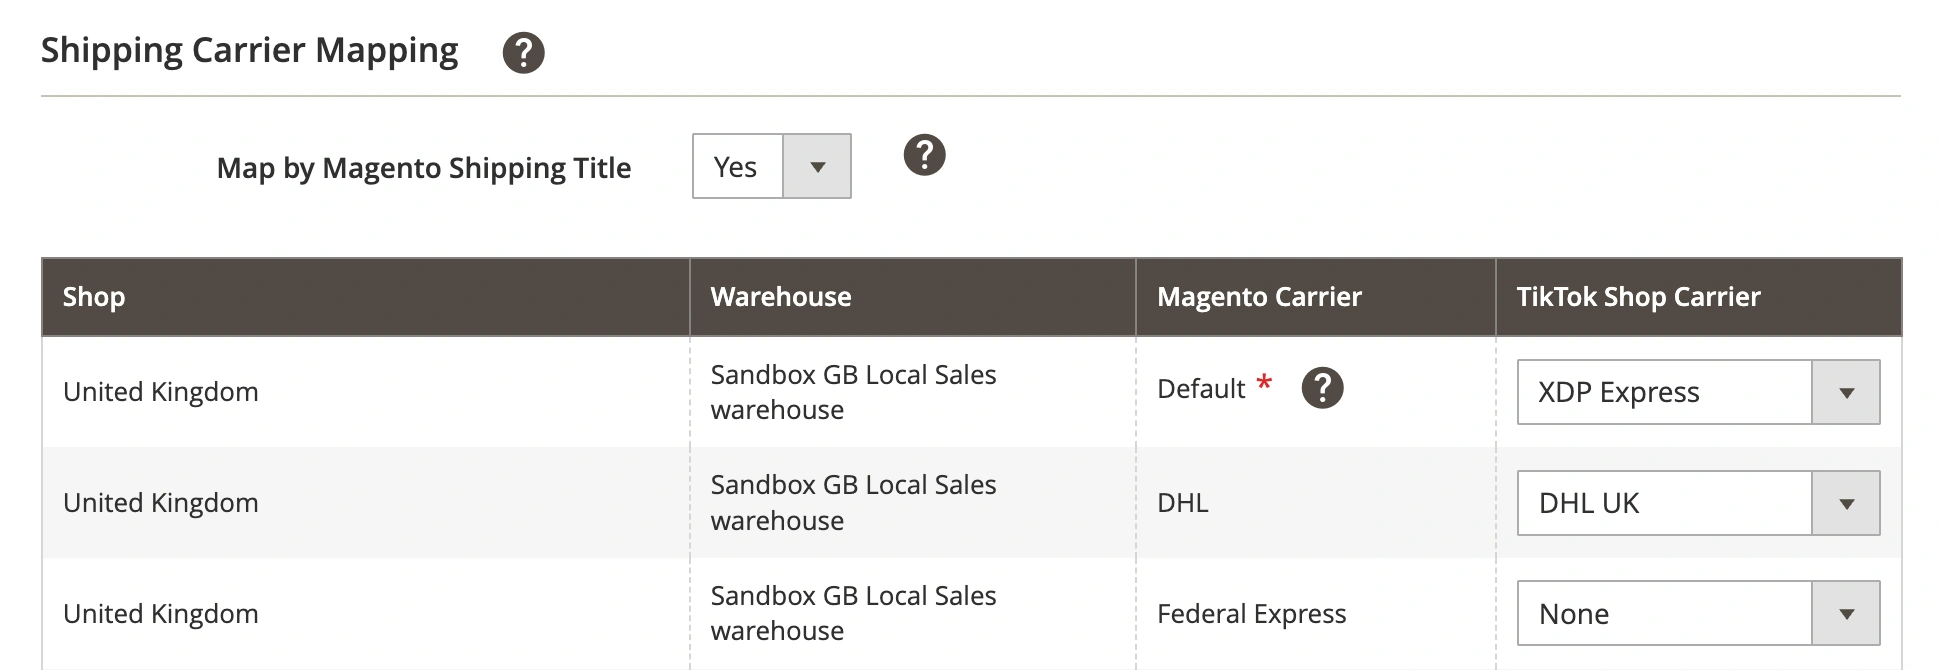
If your Magento store uses custom carrier codes, you can enable delivery mapping based on the carrier title instead. Set the Map by Magento Shipping Title option to Yes to let M2E Connect match TikTok Shop carriers using the title provided in the Magento shipment.
⚠️ Unless a specific TTS Carrier is explicitly assigned for a Magento Carrier, the TTS Carrier value selected for the 'Default' Magento carrier will be used.
ℹ️ In the Magento Carrier column, you will see only Magento carriers that support assigning tracking details.
Shipping Carrier Data Update #
Additionally, you can update your shipping providers' information in the account. If you acquire new providers or need to modify existing ones, you can use the "Refresh Account Data" button.
✅ To do this, follow the steps: Configuration > Accounts > Invoices & Shipments > Refresh Account Data.


