M2E OTTO Connect extension simplifies listing your Magento catalog products on OTTO marketplace in Germany. It allows you to seamlessly manage your listings and orders and keep them up-to-date on OTTO and Magento.
Basic requirements #
For a smooth start with selling your Magento products on OTTO via M2E, make sure that:
- You have installed the M2E OTTO Connect extension into your Magento.
- You have registered an account on the OTTO Seller Portal and configured your OTTO store settings.
Step 1. Set up your account. #
If you're new to M2E, please provide your contact information, which will be used to create your personal profile on M2E Accounts.
Step 2. Connect your OTTO account. #
Select the account that you want to link to the extension. Then, confirm access permissions for your OTTO account information. This step is crucial for allowing the extension to list and manage your products on OTTO.
Step 3. Specify general settings. #
Configure the basic settings for managing your OTTO products.
Step 4. Create M2E OTTO Listing. #
Create your first M2E OTTO Listing, which is a list of products you choose to sell on OTTO under particular settings. The Listing acts as a template and lets you apply similar settings to multiple products at once.
- Specify Listing Title. Give your Listing a clear and descriptive title.
- Select the OTTO account. Choose the OTTO account for your Listing.
- Choose Magento Store View. Select a Magento Store View that will serve as the source for your product data. This ensures the correct product information is used for your OTTO Listing.

- Set Policies. Establish your Policies, which cover essential settings for product listing on OTTO and how the extension will synchronize and manage inventory with your Magento store.

Step 5. Add products to the Listing. #
In this step, you will see a list of products from your Magento catalog based on the Store View you’ve previously selected. Choose the products you want to add to your M2E OTTO Listing for their further management.

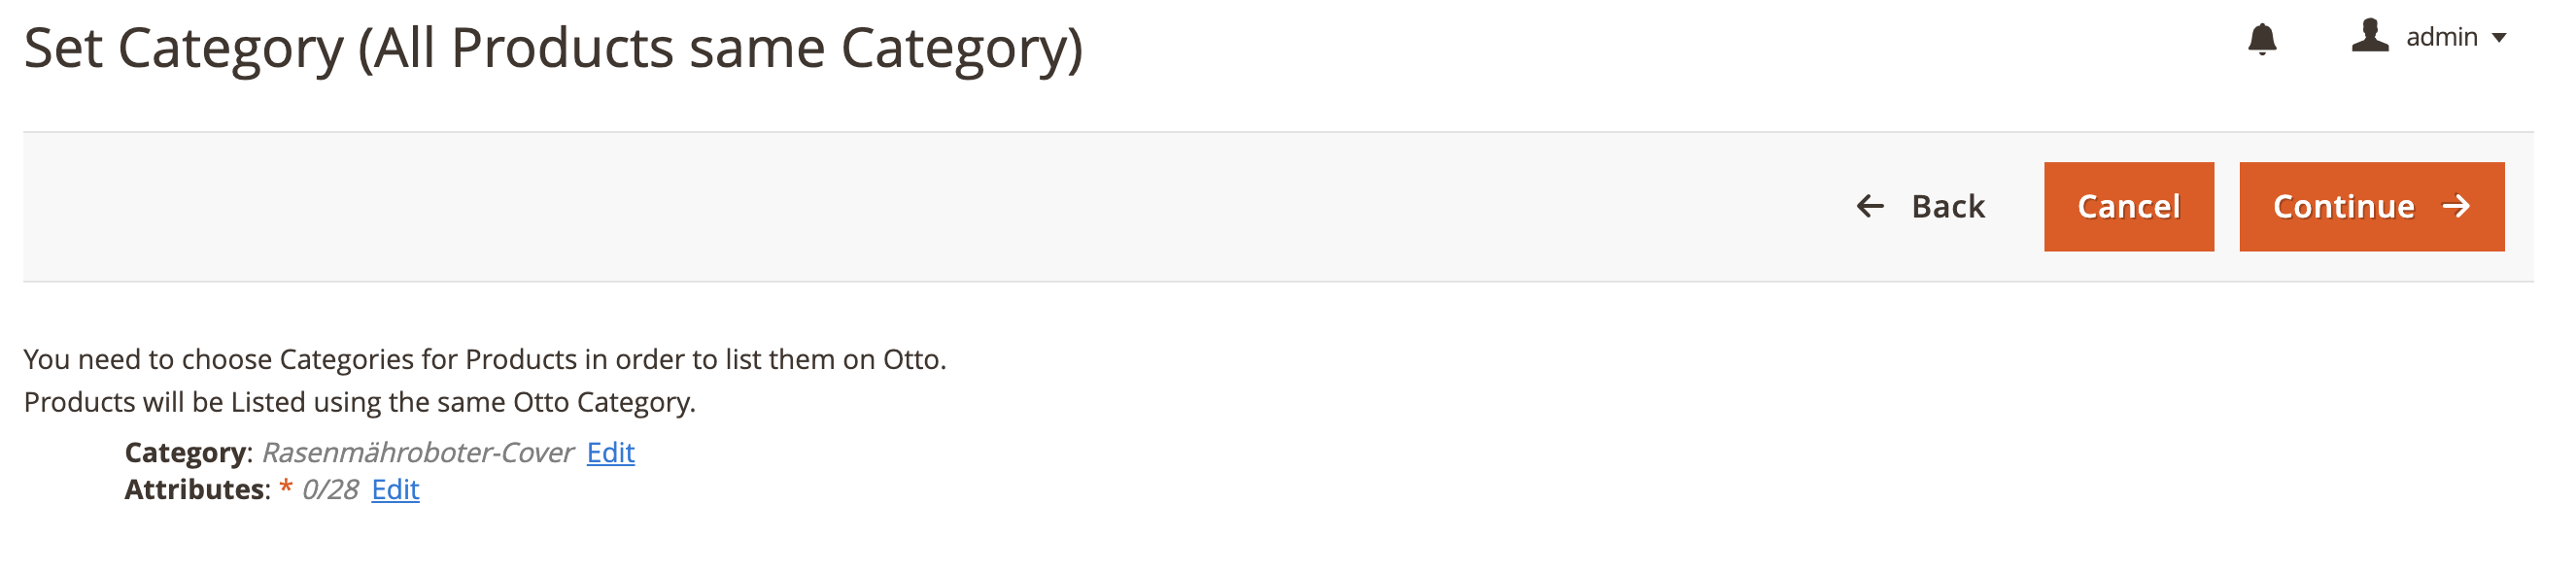
Step 6. Specify the product category and attributes. #
Assign an appropriate OTTO category to each product by either choosing from recent selections or browsing the category list.
Once you confirm the category choice, specify product attributes, such as brand, size, color, and style, to enrich product listings and improve searchability.
Step 7. List products on OTTO. #
Now, it's time to list your products on OTTO. To do so, click List Added Products Now. The extension will automatically synchronize product and order information between Magento and OTTO, maintaining accuracy across platforms.
Alternatively, you can Go To The Listing and list your products when you're ready to make them available to potential buyers.

By following these steps, you're equipped to successfully sell your Magento products on OTTO using the M2E extension.


